Tuesday 31 May 2016

Blog - Week 13 (Project 3)

I was unable to attend our last tutorial, however I meet with 2 first year students who filled in a marking schedule each on my project. I have attached these documents. 

Marking schedule 1.


Marking schedule 2.

Write short comments (75 words max!) under your final real time images to indicate how they relate to your "theory".

My Theory was surrounded around computational design, and how materials can be 3D printed or the idea could be created using only a computer. This is evident through myself chosen to create a circular shaped bridge/school. I used a lot of concrete as materials, and in this day and age (as read in one of my articles) a bridge has been 3D printed using steel, so why not concrete. As well as the steel I have used in other areas of my final project.

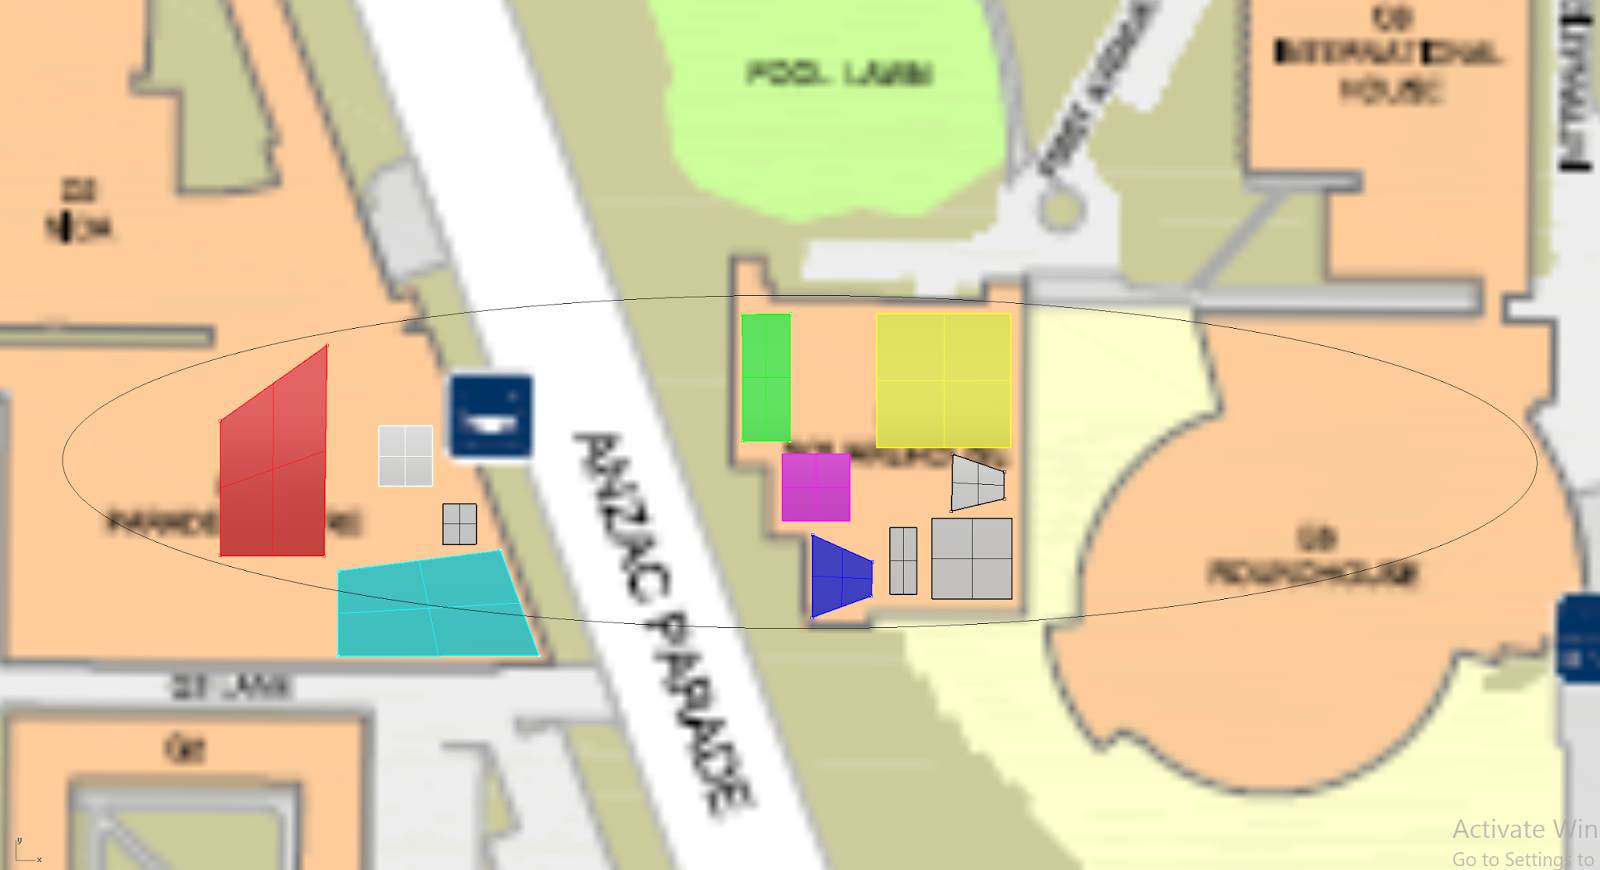
Images of my final project:

Image 1.

Image 2.

Image 3.

Image 4.

Image 5.

Image 6.

Image 7.

Image 8.

Here is the link to my final project:

https://www.dropbox.com/s/r0zey4krc0buzds/FinalProject3_5062251_HannahYeo.skp?dl=0

This is for my final SketchUp file. I am still trying to get the Lumion file up and working, I will update this blog once I can get it working. 

Blog - Week 12 (Project 3)

Movement can be understood as linear, rotational and scalar translation. Draw a series of 6 textures (within a 6 x 6 square in your notebook, or an appropriate size on your iPhone or similar) exploring each of those definitions of movement.

Three words for movement:
- Chaotic 
- Random
- Linear/Circular

Texture 1 - 6

Texture 7 - 12

Texture 12 - 18

Texture 19 - 24

Texture 25 - 30

Texture 31 - 36

Add 3 words that help you understand movement and create a series of 6 textures for each of those. 

Apply the textures that you have used to explore movement to at least 3 places within your scheme. Their application should somehow aid our navigation through the environment.

Images of final project (shows textures being applied):

Image 1.

Image 2.

Image 3.

Tuesday 17 May 2016

Blog - Week 11 (Project 3)

While creating my design my tutor pointed me in the direction of Sanaa Museum in Japan and the new Apple Headquarters Cupertino, California. I started with a basic circle, while placing the schools classrooms on the top. After being pointed in this direction I researched both of these buildings, which has greatly helped with my creation for this project (Architecture School at UNSW). 

I have included some images below which show these two buildings and how they relate to building on my design. 

Apple Headquarters:

Image 1.

Image 2.

Image 3.

Image 4.

Sanaa Museum:

Image 1.

Image 2.

Image 3.

Image 4.

My idea furthered after researching these two places.


Birds eye view image.


Where the bridge will be placed on campus. 

Blog - Week 10 (Project 3)

Divide the pages of your notebook in half. Draw a horizon line in the upper and lower halves. Use a single screen if using an iPhone, iPad or similar. In consultation with your tutor select two sets of perspectives from last week and redraw them using the two point method.

Two Point Perspective 1. Eye level.


Two Point Perspective 1. Looking down on building.

Two Point Perspective 1. Looking up at building.


Two Point Perspective 2. Eye level.


Two Point Perspective 2. Looking down on building.


Two Point Perspective 2. Looking up at building.

Here are a few drawings of my different ideas I've had while creating this assignment. 

Idea 1.

Idea 2.

Circular bridge idea help.

Idea 3.

Circular bridge idea furthered.

Ideas placed on to map:

Campus Map.

Image of classrooms placed on different areas I looked into putting my bridge.

Bringing in my circle idea for my bridge and school.

Different ideas for the school buildings, as shown in one of the lectures:

Image 1.

Image 2.

Image 3.

Image 4.

Image 5.

Image 6.

Image 7.

Image 8.

Image 9.

Image 10.

Image 11.

Image 12.

Image 13.

Image 14.